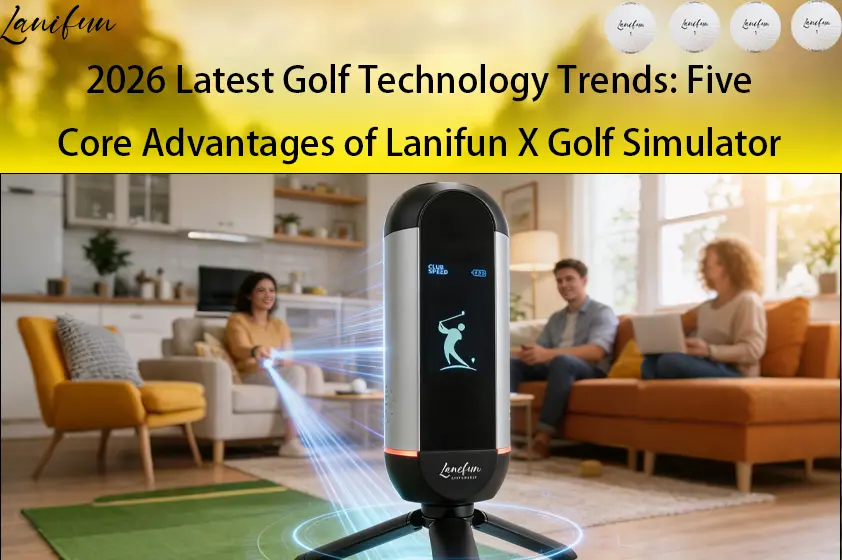

Why Do Golfers Use Launch Monitors to Improve Their Game?
How golfers use them to level up: Moving from “relying on feel” to “relying on data.” With a launch monitor golf, golfers can transform subjective sensations into objective metrics. Every shot provides data—such as ball speed, launch angle, and distance—allowing you to adjust a single variable and see the immediate impact. This creates a continuous “test-adjust-retest” loop.
Why do golfers use them to improve? 4 Key Reasons
They turn vague, subjective feelings into concrete, verifiable data points.
- 1. Instant Feedback: Get readings within seconds of your swing, allowing for immediate corrections.
- 2. Quantifiable Progress: Track ball speed and distance over a week with the same club to identify trends rather than focusing on individual shots.
- 3. Targeted Correction: Isolate specific issues—for example, if your launch angle is too high, you can adjust your stance accordingly.
- 4. Practice Anywhere: The Lanifun X features a built-in tripod and a battery life of approximately 8–10 hours, making it ready for use in your backyard, garage, or at the driving range. It is rated to measure speeds from 32–220 mph (15–99 m/s) and distances up to 350m (385 yards).
How to Train with One: 5 Actionable Steps
When using a launch monitor golf, focus on verifying only one variable at a time.
- Positioning: Deploy the built-in tripod and place the device about 1 meter behind the ball, ensuring it is aligned parallel to your target line. The vertical LCD screen should face you; the device is ready when the green RGB light ring illuminates.
- App Connection & Calibration: The device uses 24GHz Doppler radar to capture data, connecting to your smartphone via Bluetooth 5.2/5.3 (supporting high-speed 2.4GHz/2Mbps data transmission). Use the app to select your club and set your environment, then perform a static calibration—a crucial step for ensuring consistent, accurate readings from a Doppler radar launch monitor.
- Establish a Baseline: Hit 8–10 shots with the same club, and record the median values for ball speed, launch angle, and carry distance.
- Change only one variable at a time. For example, narrow your stance and hit another 8–10 shots, then compare the landing spots using the 3D virtual range simulation and precision practice data.
- Record and review. Use screen recording to save your data sets, then compare your golf swing speed training curves the following day. The device offers 6–8 hours of battery life, sufficient for use away from home.
What data does it measure, and what does each metric indicate?
ypically, 11 key data points are provided. It is more meaningful to observe trends over time rather than focusing on individual shots; we do not make unsubstantiated claims regarding percentage-based accuracy.
- Ball Speed / Clubhead Speed: Indicates energy transfer efficiency and consistency.
- Launch Angle: Angles that are too high or too low will reduce distance; this is most easily adjusted by changing your stance.
- Spin: Affects ball flight and stopping power—particularly important for short-game practice indoors.
- Carry Distance: Use in conjunction with the 3D virtual range simulation to analyze the distribution of landing spots.
- Total Distance: Evaluates overall distance performance; consider both carry and roll to determine the final landing position.
- Efficiency (Smash Factor): The ratio of ball speed to clubhead speed, indicating how effectively energy is transferred to the ball.
- Apex (Peak Height): Helps you monitor the trajectory and refine your control over ball flight and landing spots.
- Hang Time: The duration the ball remains in the air; useful for analyzing trajectory and distance performance.
- Angle of Attack: The direction of the clubhead at the moment of impact; helps optimize your swing path and striking technique.
- Launch Angle (Ball): The initial angle at which the ball leaves the clubface; helps in adjusting your stance and setup.
How does a golf launch monitor work? It uses 24GHz Doppler radar to capture echoes from the ball and calculate the aforementioned metrics. The manufacturer does not provide a specific percentage for accuracy.
Four Real-World Use Cases
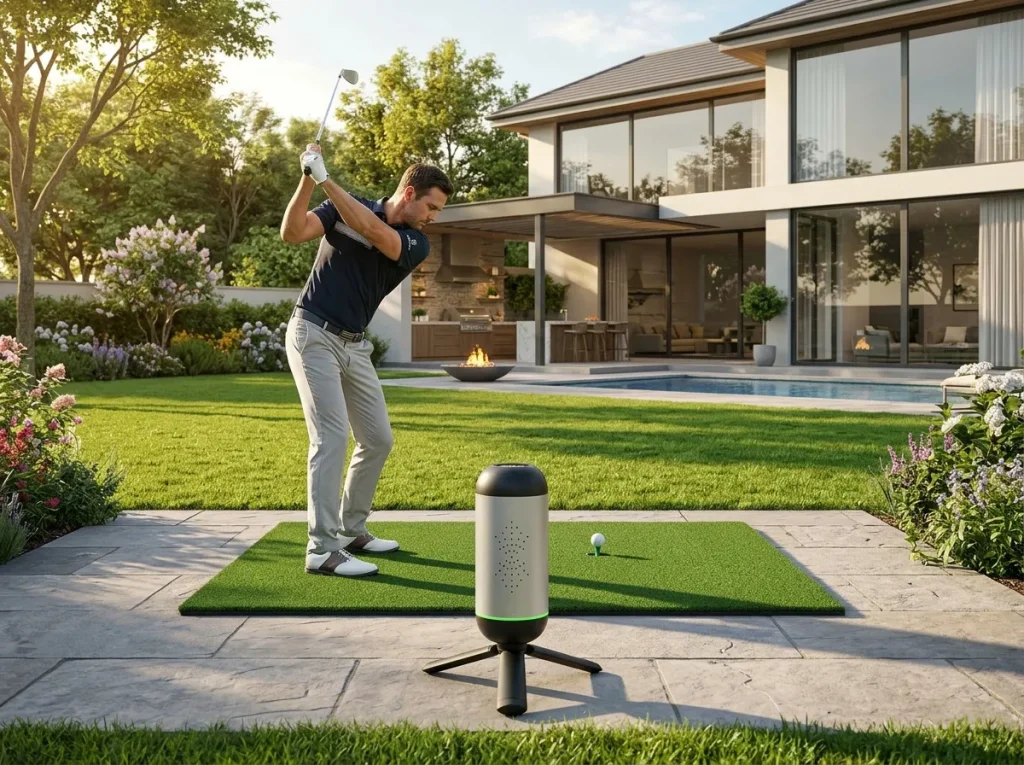
Launch Monitor for Backyard Practice
For backyard practice, the key is to ensure you have a safe radius for your swing and a consistent, fixed setup position. Place the Lanifun X about 1 meter behind your ball, aligned with your target line—and ensure the area behind the device is clear. Use the precision range training mode to hit 8–10 balls at a fixed distance. If the ground is uneven, adjust the unit to ensure it sits level. With a battery life of 6–8 hours, it’s perfect for an entire afternoon of practice. The key to using a home golf launch monitor effectively is keeping the device in the same spot, which ensures your data remains consistent and comparable.
Launch Monitor for Indoor Golf Simulators
You don’t need a full-scale impact screen for indoor practice; you can capture accurate data even in limited spaces. The Lanifun X uses 24GHz radar technology to track your shots, featuring 3D virtual course simulations to visualize landing spots, as well as screen recording so you can review and share your swing. Just ensure you have enough overhead clearance for your swing and keep the device away from large metal surfaces that could cause reflections. If you’re on a budget, you can start by using a launch monitor with a companion app to cast data to a screen. While a launch monitor focuses on data, a full golf simulator emphasizes the immersive environment.
Launch Monitor for Garage and Travel Use
For garage setups or travel, consider portability and power supply. The Lanifun X features an anodized aluminum housing and a built-in tripod, eliminating the need for extra stands. The package includes a phone holder, tripod, Type-C cable, carrying case, and a multi-language manual. A single Type-C charge provides 6–8 hours of use, and the device operates within a temperature range of -5°C to 50°C. As a Bluetooth-enabled golf launch monitor, it’s easy to pair with your device before you head out.
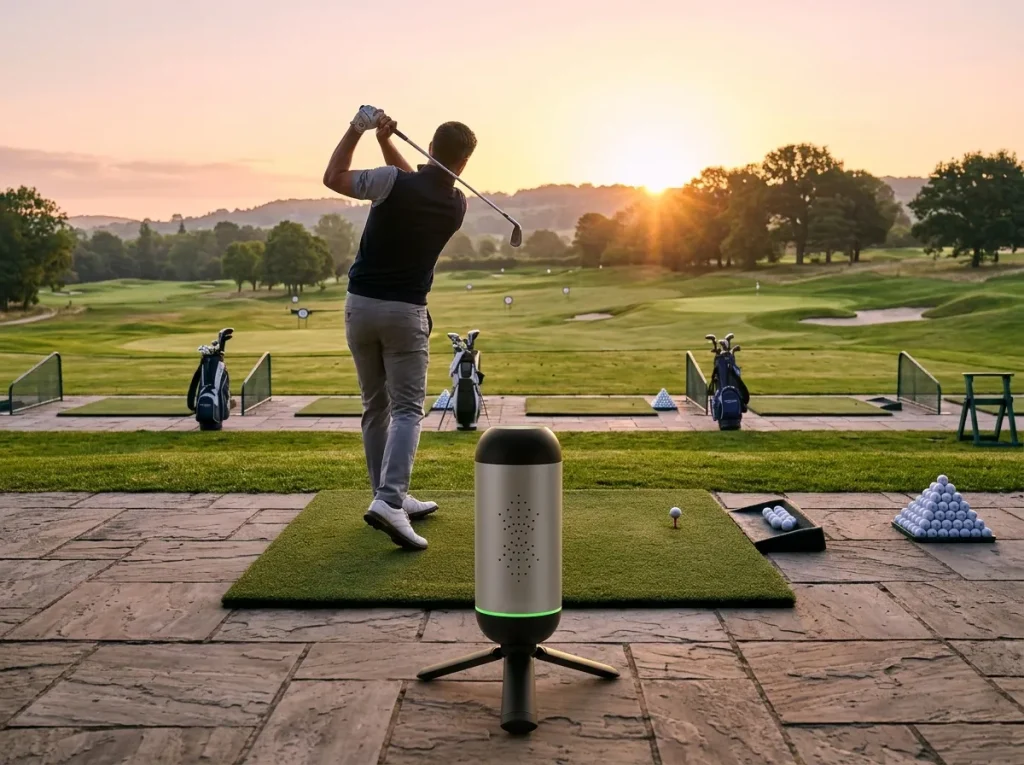
Launch Monitor for Driving Range Sessions
Think of it as a second pair of eyes at the driving range. Position it to the side and slightly behind your hitting area—making sure it’s out of the path of balls from adjacent bays—and connect it to your phone via Bluetooth to establish a baseline. Use the launch monitor to track the average distance for each club in your bag, then compile these into a “club selection chart” to take with you. Focus on specific technical corrections by turning off unnecessary prompts and keeping only the relevant data on display. When you’re finished, simply pack the portable launch monitor into its carrying case and head out.
About Us: Lanifun’s Manufacturing and Customization Capabilities
We are the original manufacturer behind Lanifun. With our own production lines, we handle all customization requests and after-sales support directly from the source. ·OEM/ODM: Customization options include startup logos and animations, pre-installed APKs/apps, enclosure colors, packaging, silk-screen printing, firmware, and interfaces. Channel partners can specify custom startup screens.
- Version Control: Firmware versions can be locked by sales channel; prototypes are confirmed before mass production begins.
- After-Sales & Spare Parts: Spare parts are provided based on a percentage of the order volume, with replacements shipped directly from the factory. Products comply with UKCA/CE/RoHS (UK/EU), FCC (USA), and are manufactured under the ISO9001 quality management system.
- Product Line: A 32-inch mobile smart display (Android 14, RK3576 processor, 14.8V 15000mAh battery) is also available; products can be bundled or selected as needed.
FAQ
Q: How should a beginner get started?
A: Establish a baseline first—don’t rush to change your swing mechanics. Unpack the unit, use the built-in tripod to position it about 1 meter behind the ball, facing the target line. Connect via Bluetooth to the app, hit 8–10 shots, and note the median ball speed and distance. The first day serves only as a benchmark; compare it against a follow-up session at the same position a week later. A multilingual manual is included in the box.
Q: Can it be used in a small backyard space?
A: Yes, provided there is enough clearance for a safe swing radius and the unit is placed securely. Ensure the device is stable and the green indicator ring is lit. For short-distance practice, use the “precision range” mode to work on specific distances. Note that very slow, gentle shots may fall outside the device’s official measurement range (32–220 mph), which is normal.
Q: Do I need a projection screen for indoor use?
A: Not necessarily—focus on gathering data before worrying about an immersive experience. The 24GHz radar system, combined with the app’s 3D virtual range simulation, screen recording, and sharing features, is sufficient for reviewing your performance. Ensure there is enough ceiling height for your swing and avoid areas with large metal surfaces that could cause reflections. You can always add a projection setup later.
Q: What should I do if it won’t connect via Bluetooth?
A: This is usually due to pairing issues or incorrect positioning. If you encounter issues, first restart the device, verify that the app has Bluetooth permissions, and re-pair. Ensure the unit is positioned directly facing the incoming ball and parallel to the target line—misalignment can cause the device to miss the return signal. Finally, keep the device away from 2.4GHz interference sources. If performance remains unstable, please contact our after-sales support; replacement parts will be shipped directly from the factory.
Q: How should I manage the 8–10 hour battery life?
A: It is more than sufficient. Fully charge the device before heading out and minimize unnecessary idle time. A single Type-C charge covers multiple practice sessions; turn the unit on only when you arrive, and power off the display between sets. The 3000mAh battery easily lasts for half a day to a full day. If using the device in a cold garage (below -5°C), allow it to warm up first—the rated operating temperature is -5°C to 50°C—to prevent temperature-related drift in readings.
Q: Is OEM customization available?
A: Yes. As the original manufacturer, we offer direct access to our production lines. We can customize the startup logo, enclosure color, packaging, screen printing, firmware, and interfaces. We can also lock firmware versions for specific sales channels. Prototypes are provided for approval before full-scale production begins, minimizing the need for rework.
Q: How are UK certifications and after-sales support handled?
A: We obtain certifications tailored to your target markets, including UKCA/CE/RoHS for the UK, FCC for the US, and ISO9001 quality management standards. As the primary manufacturer for Lanifun, we maintain a stock of spare parts proportional to your order volume. Replacement parts are shipped directly from our factory, so there is no need for you to set up your own repair facility. Firmware versions are locked by channel, ensuring that updates are always compatible with the specific batch.
Key Takeaways
Keep these 5 points in mind to turn your golf launch monitor into an effective, closed-loop daily practice tool:
- The true value lies in the feedback loop—measure, adjust, and measure again—rather than simply adding another piece of equipment.
- Change only one variable at a time. Use sets of 8–10 shots, and focus on the median result rather than your longest drive.
- Ensure the device is positioned directly facing the incoming ball at a fixed location so that your data remains consistent and comparable.
- Our official specifications cover ball speeds from 32–220 mph and distances up to 350m; we do not inflate our accuracy claims.
- Suitable for use in backyards, indoors, at driving ranges, or in garages. As the original manufacturer, we offer OEM/ODM services, firmware customization (locking/version control), and product compliance certifications (UKCA/CE/RoHS) tailored to your target market.